
Potato Please Automation: Layout and Fixes
Build a Potato Please automation line that keeps every peeler fed, with layout advice, throughput fixes and machine priorities.
Potato Please automation starts with one Auto Peel Machine at $280, not with the $2,100 Claw Crane. Put the machine where you can feed it without crossing the room, add the Sack Gantry at $280 before the second machine, and buy Overclock only when every barrel is already busy. A simple line that stays fed beats a complex line that stalls.
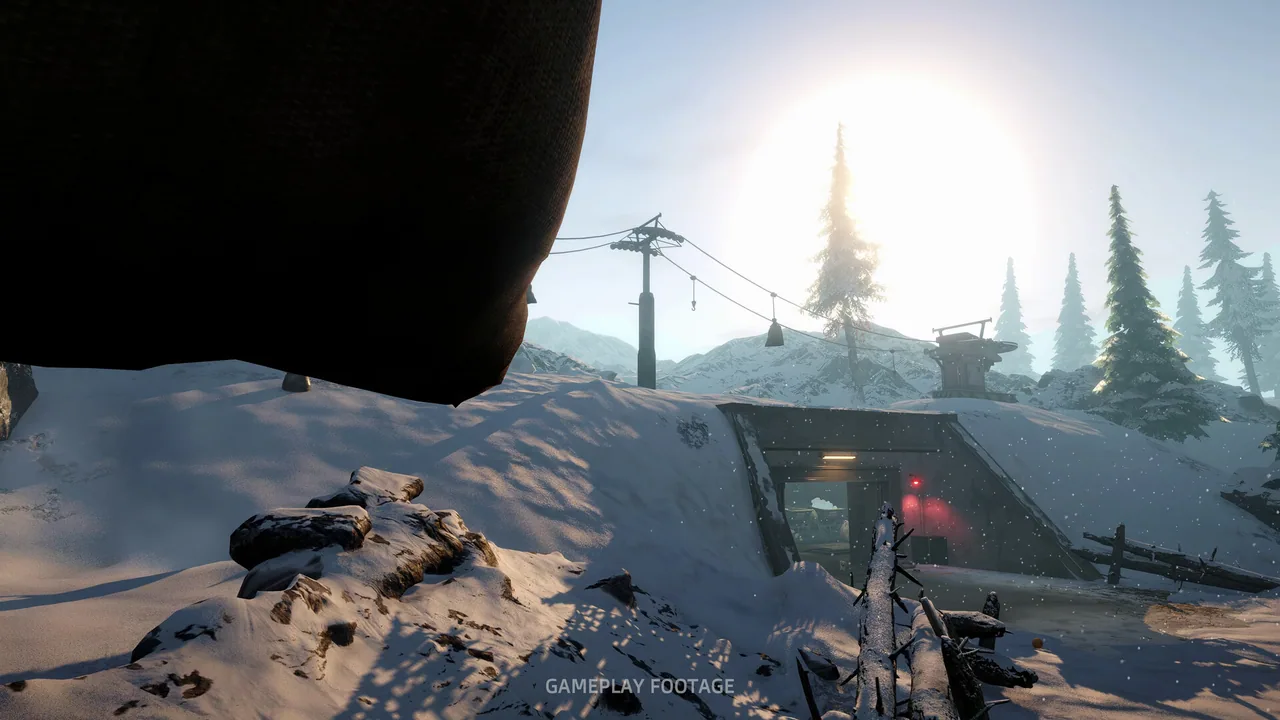
The game gives you machines, sacks, a crane, a cableway, and a vacuum, but it does not give you a throughput readout. The only reliable signal is the queue: if potatoes are waiting at the input, add feeding capacity; if the output is backed up, add clearing capacity; if the machines are idle, you have too much machine.
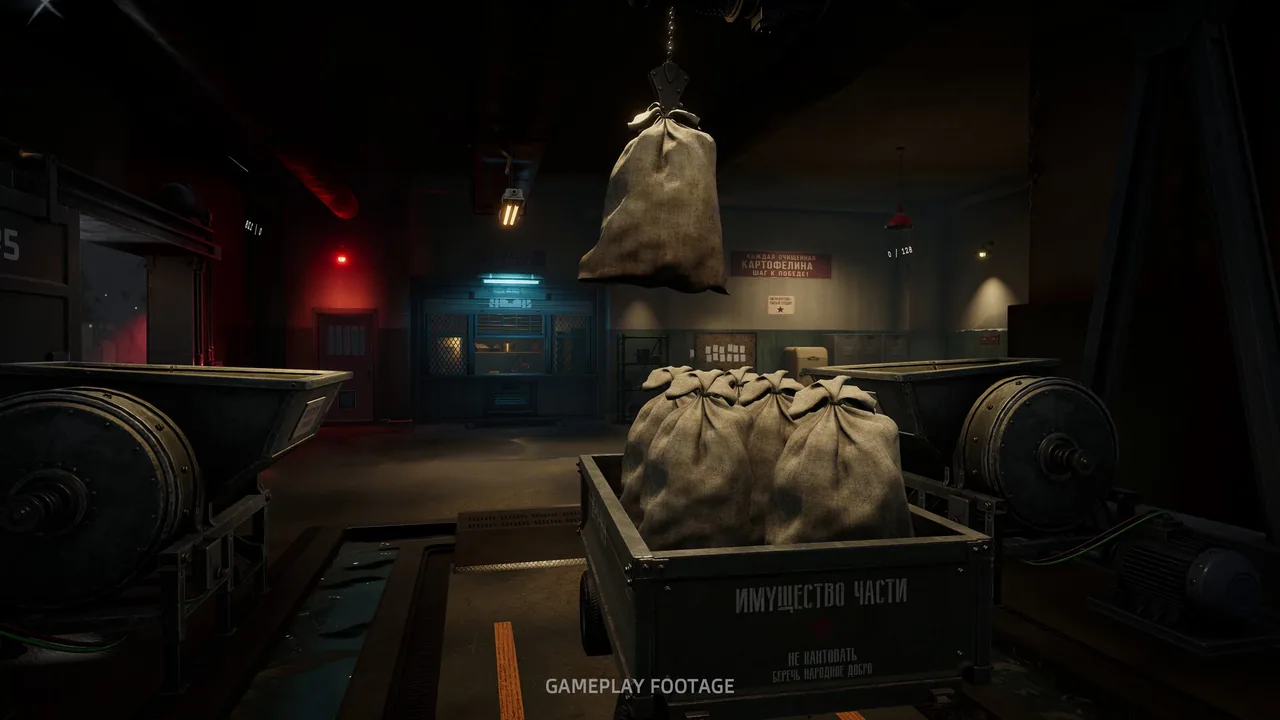
When should you start automating?
Start when the cutting board queue grows faster than you can clear it. The Crank Peel Machine at $20 is the cheap bridge, but it is still hand-powered. The first Auto Peel Machine at $280 is the real transition because it peels while you do something else.
Do not automate because the terminal offers a machine. Automate because you have a bottleneck that a machine removes. In the opening hour, the bottleneck is usually carrying, not peeling. In that case, Carry Capacity is a better purchase than another peeler.
A useful test is to stand still for ten seconds and watch the line. If the machine is idle, you need more input. If the input is full and the output is empty, the machine is working. If both are full, you need more output capacity or a second machine.
Where should the machines go?
The best layout keeps three distances short:
- The distance from the raw-potato pile to the machine input.
- The distance from the machine output to the chute or storage.
- The distance from the sack supply to the machine that needs it.
A straight line from pile to machine to chute is easier to read than a loop. The game does not require a specific layout, but a compact line reduces the time you spend walking and makes a blockage obvious.
The Kitchen Table is the anchor for the manual phase. Put it close to the chute and the raw-potato slot. The Crank Peel Machine goes beside it, not across the room. The first Auto Peel Machine goes where a full sack can reach it without a long carry.
When you add the Sack Gantry at $280, place it between the sack supply and the machines. It sends a full sack to the emptiest peeler. If the gantry is far from the machines, the travel time eats the benefit.
A layout that anticipates three machines is not better than a layout that works with one. Add space for expansion, but do not buy the expansion before the machine.
Which machine should you add next?
The priority order is:
| Priority | Purchase | Price | Why |
|---|---|---|---|
| 1 | Auto Peel Machine | $280 | Removes manual peeling |
| 2 | Sack Gantry | $280 | Keeps multiple machines fed |
| 3 | Wheelbarrow | $210 | Cuts sack trips |
| 4 | Second Auto Peel Machine | $420 | Adds capacity after the first is full |
| 5 | Sack Cableway | $1,250 | Long-distance sack route |
| 6 | Claw Crane | $2,100 | Pile management, not peeling |
| 7 | Crane Autopilot | $1,700 | Automates an already useful crane |
| 8 | Overclock | $1,400 | Doubles busy barrels |
| 9 | Potato Vacuum | $2,800 | Late-game cleanup |
The order is not absolute. If your map has a long carry route, the Wheelbarrow can move up. If your machines are close together, the Gantry can wait. The one rule that does not change is: do not buy a transport tool before you have something worth transporting.
How do you fix a stalled line?
A stalled line has one of three causes: no input, no output, or a blocked path. Check them in that order.
No input means the machines are waiting for potatoes. Fill the hopper, add a gantry, or buy another source. No output means the chute or storage is full. Clear it before adding machines. A blocked path means a potato is stuck in a lane, a wall vent, or a corner. The 1.0.1 patch fixed several escape routes, including the output chute and the wall fans, but a potato can still wedge in a corner.
The Troubleshooting page has Unstuck, Wheelbarrow, and Sack fixes. After 1.0.1, their cooldown is 60 seconds instead of five minutes. Use them when a potato is genuinely stuck, not as a routine part of the loop.
The Repile action has a 60-second cooldown. It rebuilds the potato mountain and prevents the arch from collapsing. The crane autopilot also re-piles every three minutes after 1.0.1, which is a useful backup if you are using the crane.
The puppy can peel after you feed it, but 1.0.1 changed the rule so dog-peeled potatoes do not count as machine output. Do not rely on the dog for Fully Automated or for a throughput plan.
What does Overclock actually change?
Overclock costs $1,400 and doubles the speed of every peeling barrel. It is a multiplier on a line that is already running. If the barrels are idle, the multiplier applies to zero.
Buy Overclock after the second or third machine, when the input is steady and the output can keep up. If you buy it before the line is fed, you will see the same output with a faster animation.
The same logic applies to the Potato Vacuum at $2,800. It is a cleanup and transport tool, not a peeler. Buy it when moving potatoes by hand is the bottleneck, not when you are still fighting the cutting board. If you are still choosing between the first machines, the upgrade guide → ranks them by payback instead of raw speed.
FAQ
What is the first automation purchase?
The Auto Peel Machine at $280. The Crank at $20 is a bridge, but it is still hand-powered and does not count as real automation.
Do you need the Claw Crane for Fully Automated?
No. Fully Automated is tied to the Crane Autopilot purchase, but the achievement does not require a specific layout or a fully optimized line.
Why are my machines idle?
They are waiting for input. Fill the hopper, add a Sack Gantry, or reduce the distance between the pile and the machine. A second machine will not fix an input shortage.
Does the 1.0.1 patch change automation?
Yes. It fixes potatoes stuck in the peeler hopper, potatoes escaping through the output chute and wall fans, and the crane autopilot's re-pile timing. It also reduces the Troubleshooting cooldowns to 60 seconds.
Official source: Potato Please on Steam ↗
Official source: Hotfix 1.0.1 ↗
The Steam discussions hub ↗ has player reports of layout-specific blockages. The achievements page ↗ shows the current unlock rate for Industrial Revolution and Fully Automated.
More Potato Please Guides
Potato Please Achievements Guide: All 20 Unlocks
All 20 Potato Please achievements, how to unlock each one, the hidden ending triggers, and the three unlocks nobody has fully solved.

Potato Please All Endings: Every Route Explained
Every Potato Please ending explained: the three train routes, the hidden outcomes, how to replay the final choice and unlock Every Path Has a Price.
Potato Please Beginner Guide: The First Two Hours
A practical Potato Please beginner guide for the first shift, the first $300, and the mistakes that stall your quota before automation.
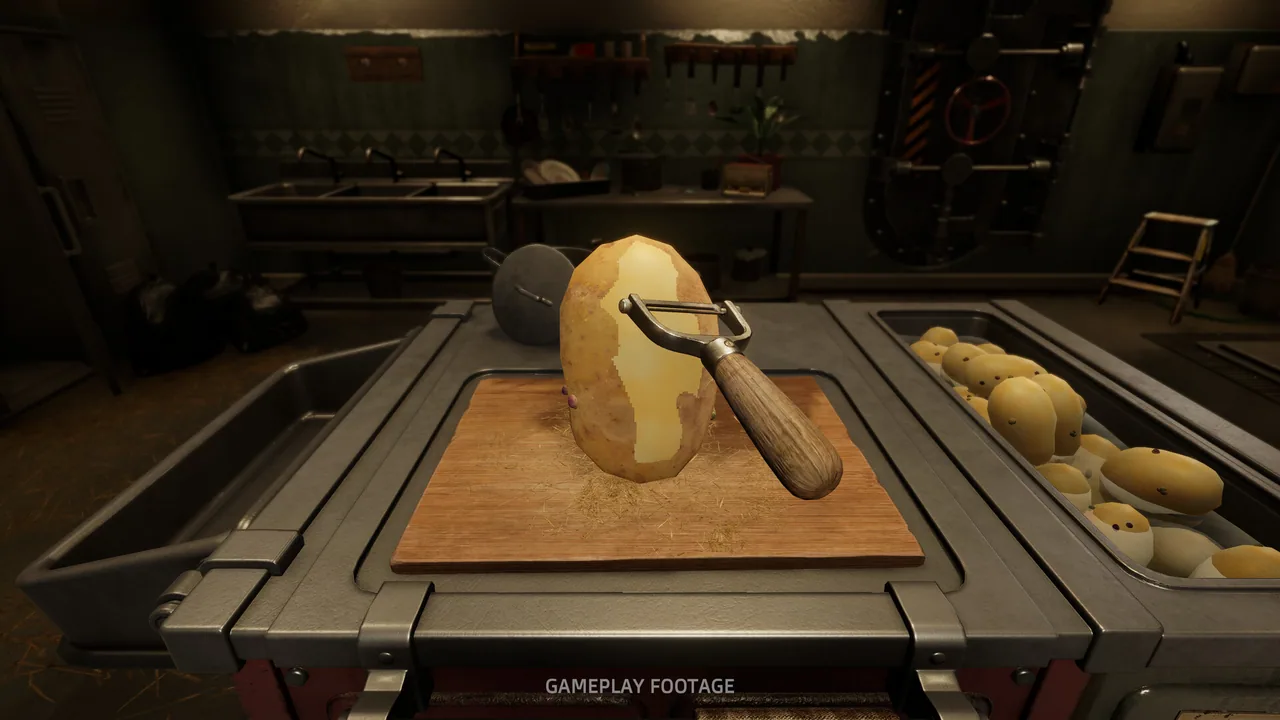
Potato Please Best Knife: Steel vs Rusty
The best knife in Potato Please is the Steel Knife at $2.70. See why it beats the Rusty Knife, when to buy it and what it cannot fix.
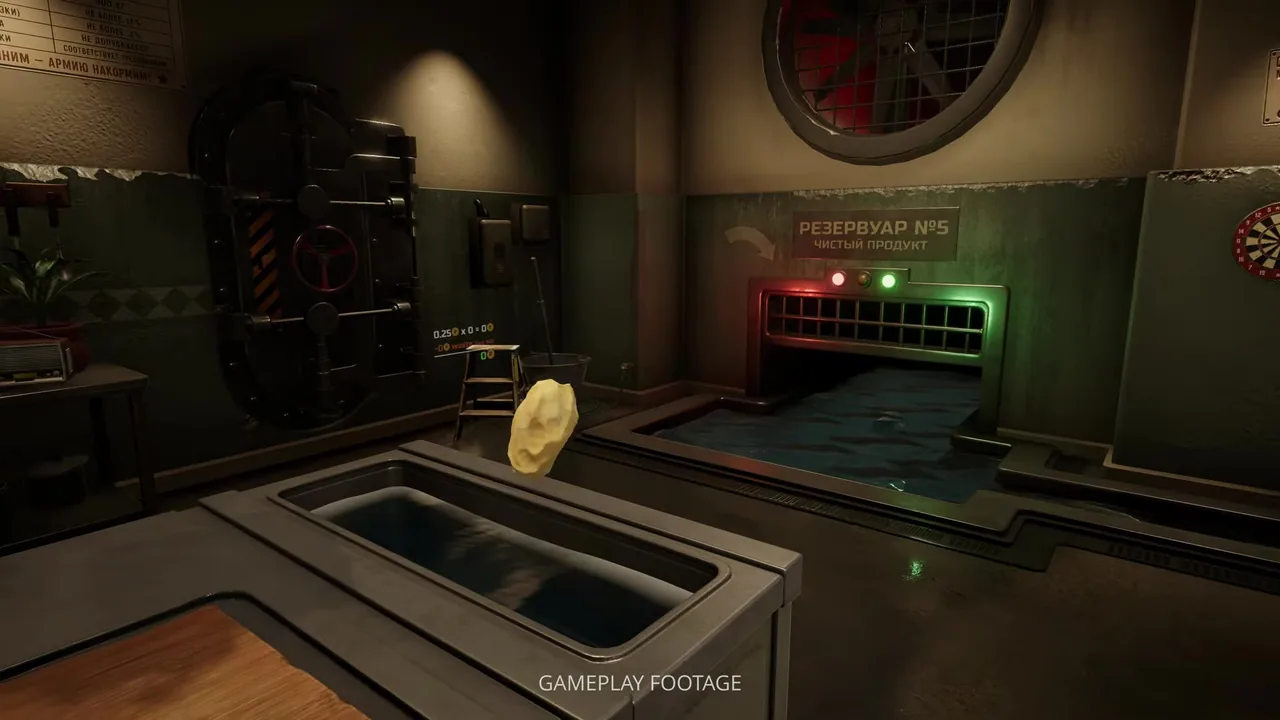
Potato Please Best Tools: Ranked for Each Phase
The best tools in Potato Please by phase, from the Steel Knife to the Auto Peel Machine, with prices and the jobs each one actually does.
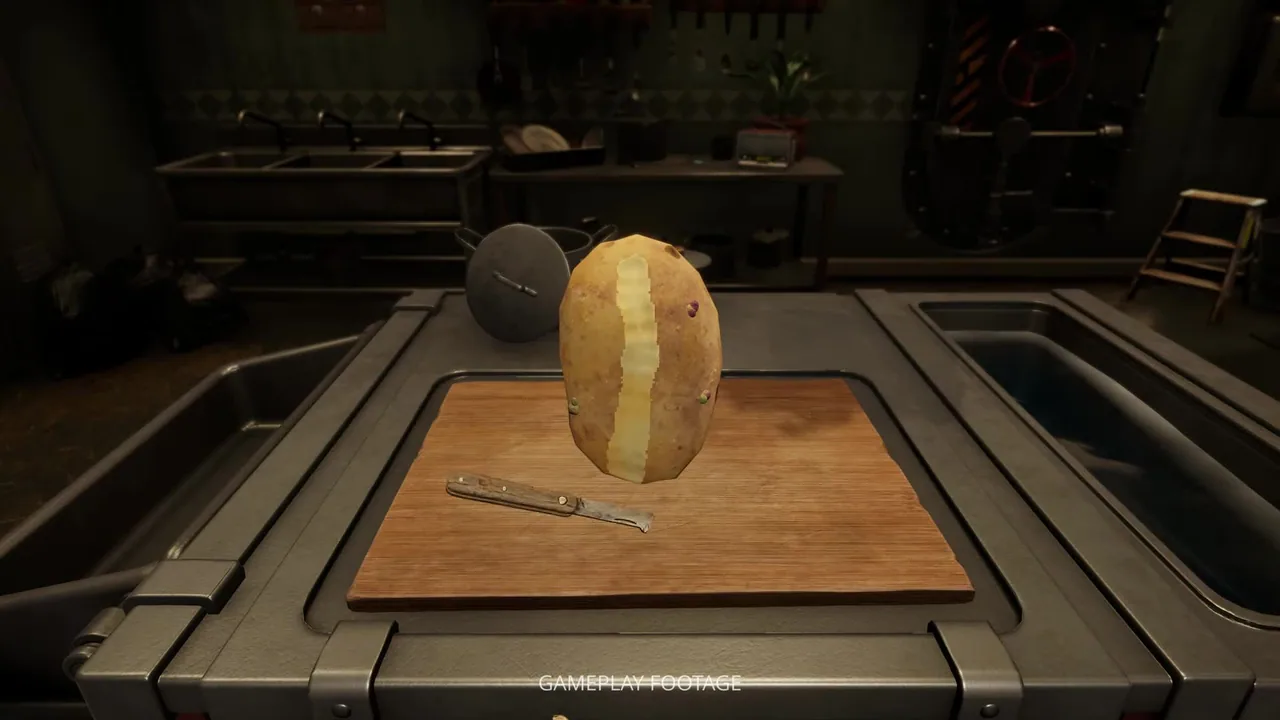
Potato Please Controls: Keyboard, Mouse and Gamepad
Every Potato Please control for PC, plus the 1.0.1 input fixes, gamepad support, tremor settings and rebinding problems.

Potato Please Difficulty: Standard vs Hard
What changes in Potato Please Hard mode, how Strict peeling works, and whether any achievement requires the harder setting.
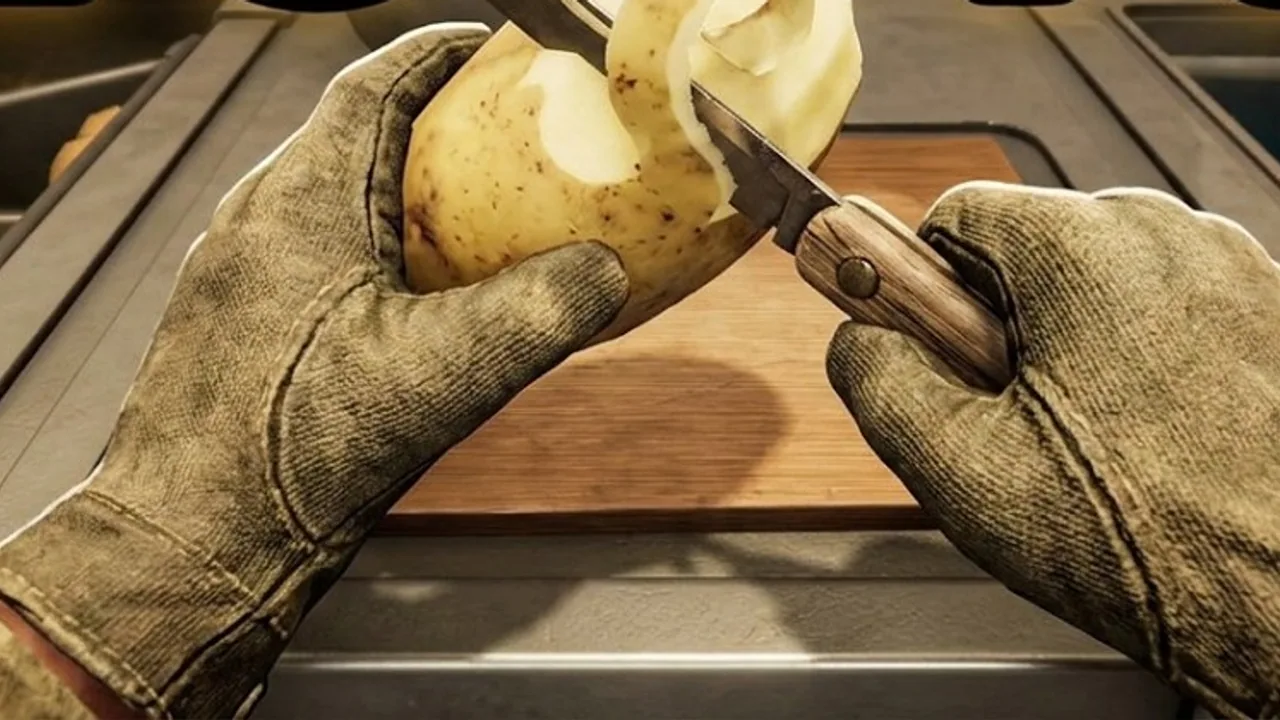
Potato Please Guide: Shift 1 to the Train
A complete Potato Please walkthrough from the warm-up shift to all three train endings, with real upgrade prices and quota fixes.